 Sudden Valley Siding
 What "New-Construction" Windows Actually Means
New-construction windows are different from the replacement windows most homeowners are familiar with. They have a nailing fin around the perimeter of the frame that gets fastened directly to the wall sheathing and integrated into the house wrap and flashing system before siding goes on. That's different from a pocket or insert replacement window, which slides into an existing frame with the old frame left in place. New-construction windows are what go into new homes, additions, bump-outs, and full wall-opening remodels where the sheathing and weather-resistive barrier (WRB) are exposed and accessible.
Because the fin becomes part of the wall's drainage plane, how it's flashed matters as much as the window itself. A premium window installed with the wrong flashing sequence will leak eventually. A mid-grade window installed correctly, with proper laps and a sloped sill pan, will hold up for decades. That's the whole game with new-construction work — sequence and detailing, not just product selection.
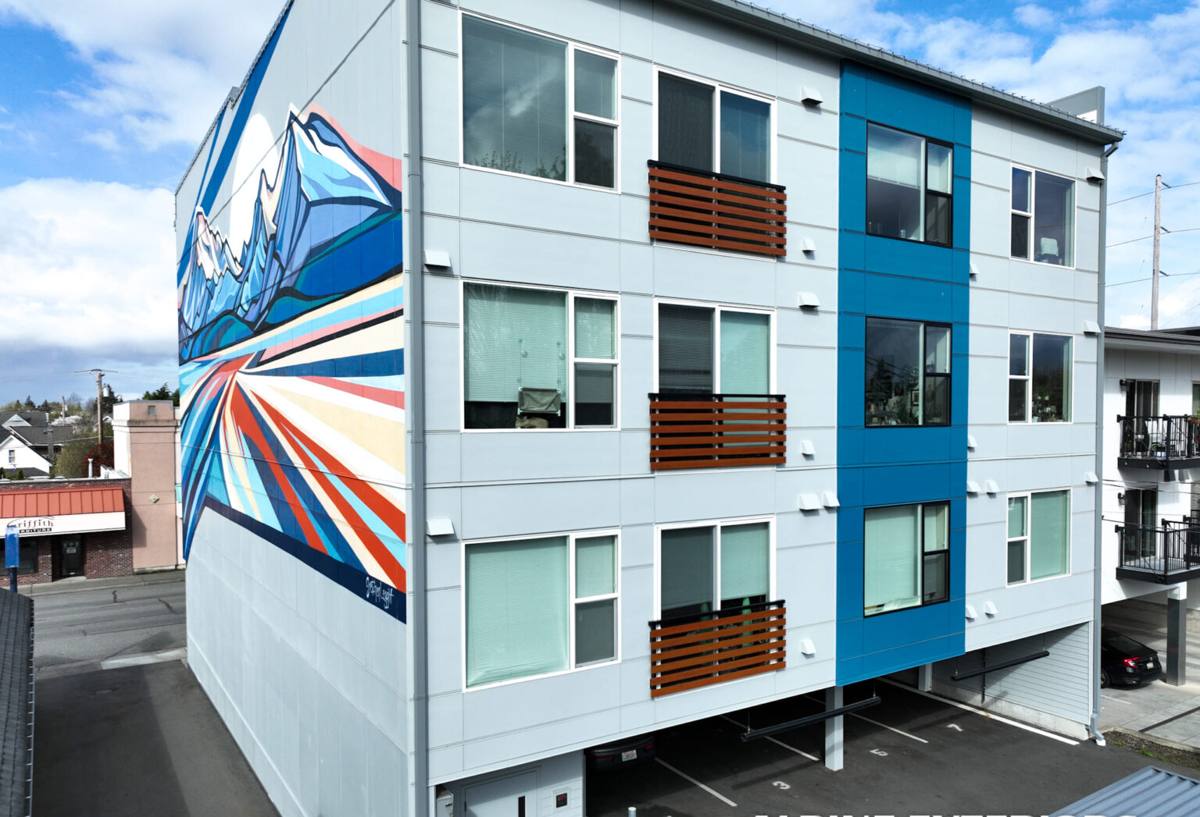
Why This Matters for Yew Street Homes Specifically
Homes in and around Yew Street sit inside a Whatcom County climate that doesn't forgive shortcuts. Salt air works on exposed fasteners and hardware over years, driving rain gets pushed sideways into wall assemblies during storms off the water, and the long moss season means siding and trim stay damp for extended stretches in fall, winter, and early spring. None of that is dramatic on its own — it's the accumulation over seasons that causes problems.
For new-construction window openings, that means three things get extra attention on every job we do in this area:
- Fastener and hardware selection — corrosion-resistant screws and cladding hardware, especially on walls with more direct exposure to weather
- Flashing overlap and direction — every layer needs to shed water downward and outward, shingle-style, so wind-driven rain can't work its way behind a lap
- Drainage and drying paths — sill pans and weep details that let any water that does get past the exterior seal find its way back out, rather than sitting against the sheathing through a damp season
What a Correct Installation Actually Involves
On a new-construction opening, the window itself is almost the easy part. The sequence around it is where jobs succeed or fail:
- Rough opening is checked for square, level, and correct dimensions before the window ever shows up on site
- A sloped sill pan flashing is installed at the bottom of the opening so any water that reaches the sill drains outward, not into the wall cavity
- House wrap or WRB is cut and prepped so the window integrates into it in the correct shingle-lap order — sill first, then jambs, then head, each layer overlapping the one below it
- The window is set plumb, level, and square, then fastened through the nailing fin per the manufacturer's schedule
- Flashing tape seals the fin to the WRB at the jambs and head, with the head flashing extending past the jamb flashing on both sides
- Backer rod and a compatible exterior sealant are used at the trim or siding interface — not caulk alone, and not a bead applied to a joint that's too wide or too narrow for it to actually work
- Interior air sealing is completed around the frame before insulation and drywall close up the opening
Skip or reorder any of those steps and the window can look perfect for years before a leak shows up — usually as a stain on interior drywall or soft trim, long after the crew that installed it has moved on.
Where We See Corners Cut on New-Construction Jobs
We get called in on remodels and additions where the framing is sound but the window details weren't. The most common issues we find: sill pans skipped entirely, fins stapled instead of properly fastened, incompatible sealants applied over incompatible flashing tapes, head flashing cut flush instead of extending past the jambs, and weep paths blocked by trim installed too tight to the sill. Every one of these is invisible on install day and expensive to fix once siding and interior finishes are in place.
Frame Material Options for This Climate
There's no single "right" window brand — the right choice depends on budget, exposure, and how the home is built. Here's how the common frame materials compare for a marine, wet-winter climate like ours:
| Material | Upfront Cost | Moisture & Salt-Air Performance | Maintenance | Typical Lifespan |
|---|---|---|---|---|
| Vinyl | Lowest | Good — won't rot or corrode, but seals and hardware still need proper flashing behind them | Low | 20-30 years |
| Fiberglass | Mid to high | Very good — dimensionally stable in temperature swings, holds paint or finish well | Low to moderate | 30-40+ years |
| Wood-clad (composite exterior) | Highest | Good if the cladding and flashing details are correct; the wood core is only as protected as the installation around it | Moderate | 25-40 years, install-dependent |
We'll walk through these trade-offs with you based on which walls are more exposed to wind-driven rain and how much upkeep you want to take on down the road. There's no need to over-spend on a premium frame if the installation detailing isn't going to back it up — and there's no reason to under-spend on an exposed, weather-facing wall either.
Our Process on Yew Street Projects
Before Installation
We start with a site visit to look at the rough openings, note which walls face the prevailing wind and rain, and talk through window options that fit the budget and the home's exposure. On new builds and additions, we coordinate timing with the framing and WRB installation so windows go in at the right point in the sequence — not too early, not after the wrap is already compromised by weather.
During Installation
Each window is set, flashed, and sealed following the sequence above, with photos taken at the flashing stage before it's covered by siding or trim. That gives you and us a record of what's behind the finish surfaces — useful for warranty purposes and for future work on the home.
After Installation
We walk the finished openings with you, operate each window, and check seals from both the interior and exterior before calling the job done. If it's an addition or partial remodel, we also confirm the new work ties cleanly into the existing siding and flashing so there's no gap where old meets new.
A Checklist Before You Hire Anyone for New-Construction Window Work
- Ask to see how they flash a sill pan and window head — if they can't describe the lap sequence, that's a red flag
- Confirm whether photos are taken of the flashing before it's covered by siding
- Ask what sealant and flashing tape brands they use and whether those products are actually compatible with each other
- Get a clear answer on who's responsible if a leak shows up two years later — the window manufacturer, the installer, or both
- Ask whether they've worked on homes in your specific area and understand which walls take the worst weather
- Make sure the quote specifies flashing and sealing work, not just "windows installed" as a line item
Why a Crew That Already Works This Area Matters
A contractor who works Whatcom County regularly already knows which wall orientations around Sudden Valley take the brunt of wind-driven rain, how long moss and algae stay active on north-facing and shaded elevations, and how salt air affects hardware choices over time. That's not something you can fully substitute with a generic install checklist — it's pattern recognition built from doing the work here, season after season. It also means scheduling around our actual wet-weather windows rather than fighting them, and having a straightforward answer when you call back with a question two years after the job is done.
Living With New Windows Afterward
New-construction windows installed correctly don't need much from you, but a little attention keeps them performing for the long haul:
- Keep weep holes at the base of the frame clear of dirt, debris, and moss buildup
- Check exterior sealant joints once a year, especially after a hard winter, and have any cracked or separated beads redone before they let water in
- Keep gutters and downspouts nearby functioning — overflow running down a wall concentrates far more water at a window opening than normal rainfall does
- Lubricate hardware and tracks periodically, since salt air accelerates wear on moving parts faster than it will further inland
If you're planning new construction, an addition, or a full re-side that opens up your walls in the Yew Street area, we're happy to take a look and walk you through what your home actually needs — no pressure, no upsell. Reach out for a free estimate using the form below.