 Sudden Valley Siding
 Why New-Construction Windows in South Hill Need to Be Done Right the First Time
New-construction windows go in before the siding, trim, and weather barrier are finished — which means the window opening, the flashing, and the water management plan all get built together, at the same time, by the same crew. That's very different from a replacement job where the window drops into an opening that's already been sided and trimmed for years. On a South Hill build or addition, this is the one chance to get the water path right from the studs out. Get it wrong here and the mistake gets buried behind siding for the next decade or two, showing up later as rot, mold, or a stain creeping down the wall from a top corner.
We treat new-construction window work as a sequencing job as much as an installation job. The window, the housewrap, the flashing tape, and the siding all have to overlap in the correct order — shingle-style, so water always sheds outward and downward, never into the wall. That sequencing matters everywhere, but it matters more here given how much moisture Whatcom County throws at a house over a typical year.
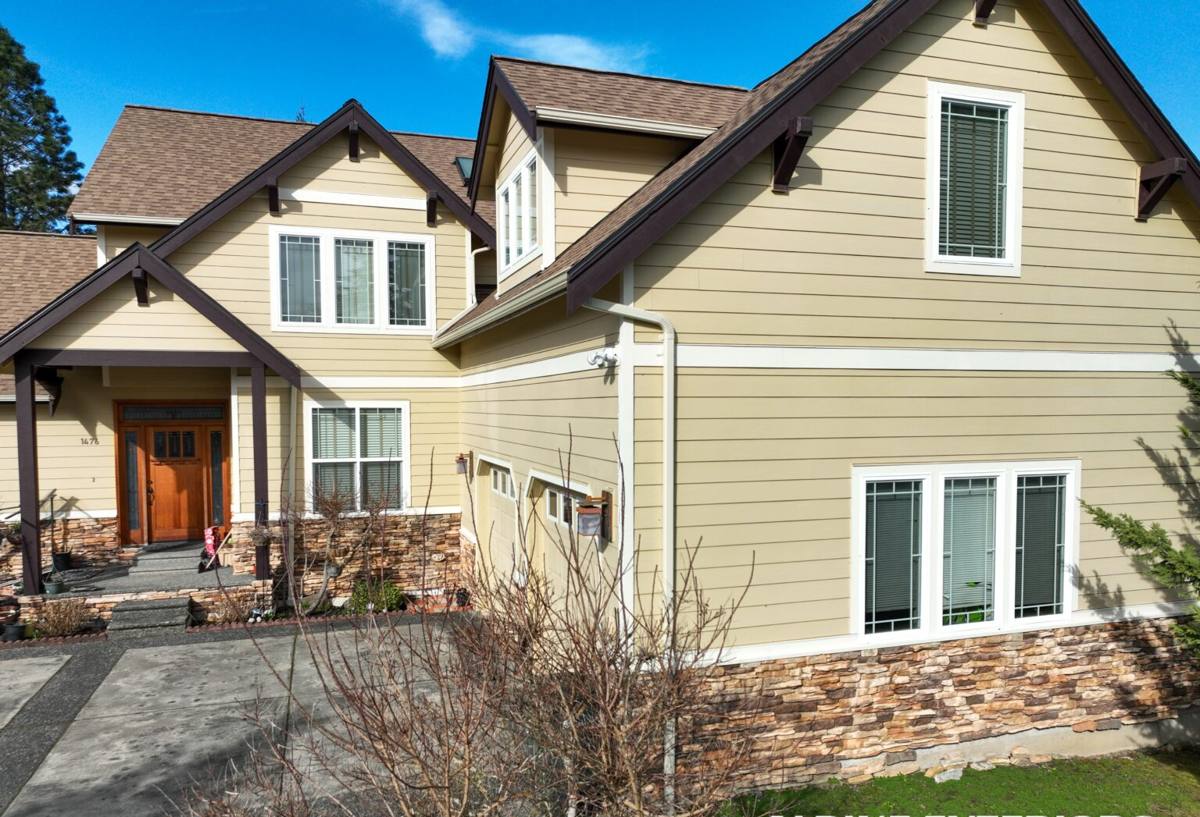
New Construction vs. Replacement: What the Difference Means for Your Project
Homeowners often use "new windows" to mean any window job, but the install method is genuinely different work:
- New construction: the window has a nailing flange and gets fastened directly to the wall sheathing, with flashing integrated into the weather-resistive barrier before siding goes on.
- Replacement (pocket) windows: a flangeless unit is inserted into an existing frame, keeping the old exterior trim and cladding in place.
- Full-frame replacement: the old window is removed down to the rough opening and a new flanged unit is installed much like new construction, but tying into existing siding rather than fresh sheathing.
For South Hill's mix of newer builds, additions, and full remodels, we see all three. This page focuses on true new-construction work — new openings or additions where the wall assembly is being built or rebuilt around the window, not just the glass swapped out.
What Sudden Valley's Climate Demands From a Window Installation
Whatcom County weather is persistent rather than dramatic — long stretches of low-intensity rain, wind-driven storms off the water, humid air that never fully dries out, and shaded, moss-prone roof and wall surfaces for a good chunk of the year. None of that is exotic, but it adds up over the life of a window if the install wasn't built to handle it.
Three regional factors shape how we detail every South Hill window:
- Salt air: even set back from open water, homes in the Sudden Valley area get some airborne salt exposure, which accelerates corrosion on cheap fasteners, hinges, and uncoated flashing metal.
- Driving rain: wind-driven storms push water sideways and upward under sills, which is exactly where a lazy caulk-only install fails first.
- Moss season: shaded north and west walls stay damp for weeks at a stretch, and any small gap in the water barrier becomes a slow, invisible leak path instead of a fast, obvious one.
The practical result: sill pans, back-dam flashing, and proper head flashing aren't optional upgrades here — they're the baseline for a window that's still performing well in fifteen years instead of just five.
The Anatomy of a Correct New-Construction Window Install
A correct install is a sequence, not a single step. Every layer has to lap over the one below it so water always moves down and out.
Rough opening and sill prep
We check the rough opening for square and level before anything goes in, and we install a sloped sill pan so any water that gets past the window has somewhere to go besides the framing below it.
Flashing, shingle-style
Sill flashing goes on first, then the window, then jamb flashing over the flange sides, then head flashing over the top — each layer lapping the one beneath it, tied into the housewrap so the whole wall sheds water as one system rather than the window being an isolated patch.
Fastening and shimming
Windows get shimmed at the manufacturer's specified points, not just at the corners, so the frame doesn't bow under fastener pressure — a bowed frame is one of the more common causes of a window that won't seal or operate smoothly a few years down the road.
Air sealing and insulation
The gap between the rough opening and the window frame gets sealed with a low-expansion foam or backer rod and sealant rated for window use — not the same can foam used for general gap-filling, which can bow thin vinyl frames.
Interior and exterior finish
Once the window is set, flashed, and sealed, siding and trim close it in on the exterior while interior casing and insulation finish the inside. This is also the point where we confirm the window operates correctly — locks, tilt-in sashes, screens — before it's buried behind finish materials.
Choosing Frame Materials for Whatcom County Weather
Frame material affects how a window handles years of damp, cool weather with the occasional windstorm. There's no single "best" choice — it depends on budget, the home's style, and how much upkeep you want to take on.
| Material | Moisture Behavior | Maintenance | Typical Fit |
|---|---|---|---|
| Vinyl | Won't rot; seams and welds matter for long-term water tightness | Low — no painting or sealing | Budget-conscious, straightforward openings |
| Fiberglass | Very stable in wet/dry cycling; low expansion and contraction | Low | Larger openings, higher wind/rain exposure |
| Wood-clad | Good if cladding and flashing details are correct; exposed wood parts need protection | Higher — cladding seams and any exposed wood need monitoring | Historic or high-end aesthetic where interior wood look matters |
| Aluminum | Conducts cold and can condense moisture in our damp winters | Moderate | Rarely our first recommendation for residential in this climate |
For most South Hill homes we lean toward vinyl or fiberglass because they handle sustained damp weather with the least ongoing maintenance. Wood-clad is a legitimate choice when it fits the home's look, but it raises the bar on installation and cladding detail — any gap in the clad seams gives moisture a way to reach the wood underneath, which is a maintenance burden worth going in with eyes open rather than a reason to rule it out entirely.
Our Process for South Hill Projects
- On-site walkthrough: we look at the rough openings or existing wall assembly, note wall orientation (north/west walls get more moss and shade exposure), and talk through frame material and options.
- Written estimate: clear scope, materials, and pricing before anything starts — no surprise add-ons buried in fine print.
- Flashing and water management plan: we confirm how sill pans, flashing, and the housewrap will integrate before install day, especially on additions tying into existing siding.
- Installation: windows set, flashed, shimmed, and sealed in the correct order, with each window checked for square, level, and smooth operation.
- Final walkthrough: we operate every window with you, check seals and trim, and answer questions about care before we consider the job done.
Signs of a Rushed or Incorrect Install
Whether you're vetting a crew or checking work already done, these are the shortcuts that tend to cause trouble in our climate specifically:
- Caulk used as the primary water barrier instead of proper flashing underneath it
- No sill pan or back dam, so any water intrusion has nowhere to drain
- Flashing taped in the wrong order (head flashing under the housewrap instead of over it, for example)
- Windows fastened without shims at mid-span, leading to a bowed frame over time
- Gaps sealed with general-purpose foam that can distort thin frame materials
- No final operational check — locks, tilt sashes, and screens should all work smoothly before the crew leaves
What Affects Your Cost
Costs vary by opening size, frame material, and how much wall or siding work surrounds the window, so we won't quote a number without seeing the project. Broadly, the factors that move the price are:
| Factor | Why It Matters |
|---|---|
| Frame material | Vinyl is typically the most budget-friendly; fiberglass and wood-clad run higher |
| Opening size and count | Larger or custom-sized openings and multi-window walls add labor and material |
| Wall assembly stage | Framing already open (new build/addition) is generally more straightforward than tying new flashing into existing siding |
| Access and orientation | Upper-story or hard-to-reach openings, and north/west walls needing extra moisture detailing, add time |
| Interior/exterior trim | Custom casing, sills, or matching existing trim profiles adds finish work |
Why Local Experience in South Hill Matters
A window that's correct on paper can still underperform if it's not detailed for the specific wall it's going into. A crew that already works in South Hill and around Sudden Valley has seen which walls hold moisture longest, which orientations grow moss fastest, and where driving rain tends to find the gaps other installers miss. That's not a marketing point — it's the difference between an install that just meets code and one that's actually built for what this part of Whatcom County does to a house every winter.
We also stand behind our own installation work, which matters more with windows than almost any other exterior component: a great window with a poor flashing job will leak regardless of the warranty on the glass, and a modest window installed correctly will usually outperform it.
If you're planning new-construction windows for a build, addition, or remodel in South Hill, we're glad to walk the site, look at your openings, and put together a straightforward estimate — no pressure, no obligation. Use the form below to get started.