 Sudden Valley Siding
 Building or Framing a Home in Barkley? Get the Windows Right the First Time
New-construction window work is a different job than a replacement. There's no old frame to compare against, no existing flashing to inspect for damage, and no shortcuts to fall back on if the rough opening isn't right. Everything about how the window performs for the next twenty or thirty years gets decided in a few hours of framing, flashing, and sealing before the siding ever goes on. In the Barkley area, close to Sudden Valley and Lake Whatcom, that first installation has to account for a climate that doesn't forgive sloppy work: salt-tinged air moving up from the Sound, driving rain that hits window walls sideways during winter storms, and a moss season that runs long enough to keep every north-facing surface damp for months at a time.
We install new-construction windows on homes going up throughout Whatcom County, and Barkley is territory we already know. That matters more than it might seem — a crew that's worked the lake-adjacent lots, the tree-shaded interior streets, and the more exposed hillside sites in this area understands which homes need extra flashing detail and which ones need a harder look at drainage before the first window ever goes in.
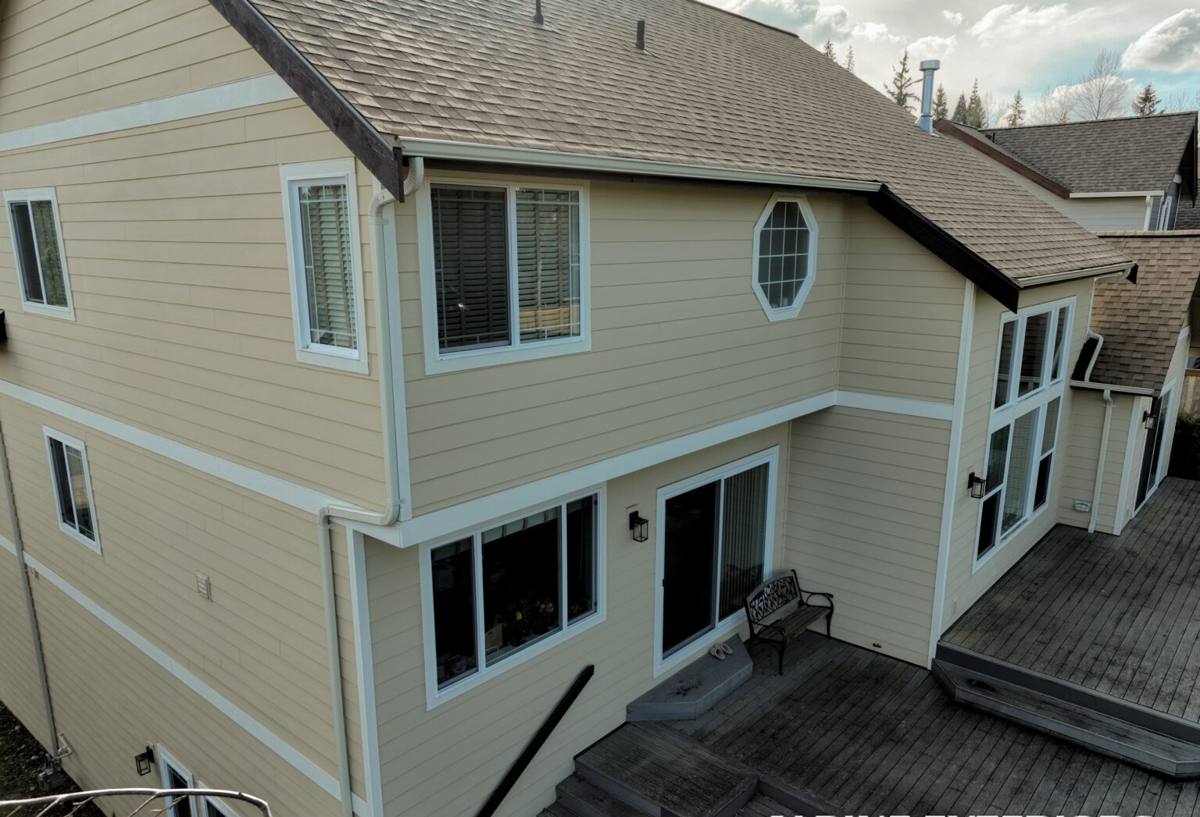
Why Barkley's Climate Changes the Job
Sudden Valley and the surrounding Whatcom County lake communities sit in a transitional zone — close enough to the Salish Sea to pick up salt-laden air, but also tucked against forested slopes that trap moisture and shade. That combination creates a few specific challenges for new-construction window installs:
Salt Air and Metal Fatigue
Airborne salt accelerates corrosion on window hardware, screws, and any exposed metal flashing that isn't rated for coastal exposure. On a new build, this means specifying corrosion-resistant fasteners and flashing tape from day one, not discovering the problem when hinges start seizing five years in.
Driving Rain Loads
Storms coming off the water don't just fall straight down — wind-driven rain gets pushed sideways into window walls, especially on south and west exposures. A window opening built without a proper sloped sill pan and secondary drainage path will eventually let water track behind the frame, no matter how good the caulk bead looks on day one.
Extended Moss and Shade Season
Many Barkley lots sit under mature evergreen canopy or face north toward the lake, which means less direct sun and longer periods of surface dampness. Moss and algae growth on siding and trim near window openings isn't just cosmetic — it holds moisture against the building envelope longer, which is exactly what a correctly built window opening is designed to shed quickly.
What a Correct New-Construction Window Install Actually Involves
"New construction" windows are typically nail-fin units set into a framed rough opening before the weather-resistive barrier and siding go on. That gives us the chance to build the water-management system into the wall from scratch — but only if every layer goes in correctly and in the right order.
- Rough opening check: confirming the opening is square, level, and sized correctly before the window ever gets set — a window forced into an out-of-square opening will bind, leak, or both.
- Sloped sill pan flashing: a rigid or flexible pan that directs any water that gets past the window frame back outside the wall, rather than letting it sit against the sill or drain into the framing.
- Weather-resistive barrier integration: the house wrap and window flashing have to shingle together correctly — upper layers overlapping lower ones — so water sheds down and out, never behind the barrier.
- Head flashing with a drip cap: directing water away from the top of the window rather than letting it pool or wick sideways under the siding.
- Proper fastening and shimming: the nail fin secured per manufacturer spec, with shims at load points so the frame doesn't rack or bow once siding and trim add weight.
- Interior and exterior sealant, done in the right sequence: sealing the wrong layer at the wrong time is one of the most common causes of trapped moisture in new builds.
Skipping or rushing any one of these steps doesn't usually cause a problem in year one. It shows up in year five or ten, as rot in the sill framing, staining on interior drywall below the window, or a frame that's started to sag. New construction is the one point in a home's life where fixing this is cheap and easy — it only gets more expensive from there.
Choosing Windows for a Barkley Build
We work with a range of manufacturers and steer homeowners toward products with a track record in Pacific Northwest conditions rather than a specific brand name. What matters more than the label is matching the window's construction to the exposure it'll face.
| Factor | What to Look For in Barkley Conditions |
|---|---|
| Frame material | Vinyl and fiberglass both hold up well against salt air; look for corrosion-resistant hardware regardless of frame type |
| Glass package | Double-pane with low-E coating is standard for our climate; homes with more west or south exposure benefit from added solar control |
| Weatherstripping | Quality compression seals matter more here than in drier climates — they're doing constant work against wind-driven rain |
| Flashing compatibility | Nail fin design and manufacturer flashing instructions should match the wall assembly being used on the build |
| Warranty structure | Understand what's covered on the glass unit versus the frame versus installation — they're often separate |
We won't push a product line just because it's cheaper to install if it means cutting corners on the flashing detail or hardware quality this area needs. That's a standard we hold on every job, not a sales pitch for one manufacturer over another.
Our Process on New-Construction Builds
1. Plan Review and Site Coordination
We start by reviewing the window schedule against the framing plans and talking with the builder or homeowner about exposure — which walls face the weather, which are sheltered, and whether the lot has any drainage quirks worth planning around before framing is even finished.
2. Rough Opening Inspection
Before any window goes in, we check every opening for square, level, and correct sizing. Framing issues get flagged and corrected at this stage, not discovered after the window is already set.
3. Flashing and Water Management Install
Sill pans, house wrap integration, and head flashing go in following a consistent shingle-lap sequence, built to shed water outward at every layer.
4. Window Setting and Fastening
Each unit is set plumb, level, and square, shimmed at proper load points, and fastened to manufacturer spec — no gaps in the nailing schedule that could let a window shift once siding load is added.
5. Sealant and Final Check
Interior and exterior sealant goes in following the correct sequence for the wall assembly, and every window gets a final operational check — smooth opening, closing, and locking — before we call the install done.
Why It Matters to Hire a Crew That Works This Area
A window installer who mostly works drier inland areas can do fine technical work and still miss details that matter specifically here — how much extra attention a north-facing, shaded opening needs, or why a lakefront-adjacent lot's salt exposure calls for different hardware than a build a few miles inland. We've done new-construction window work across Whatcom County, including in and around Sudden Valley and Barkley, and that repetition means we're not guessing at how this climate treats a window opening over time — we've seen it.
It also means we're already familiar with local building department expectations for flashing and water management details, which keeps inspections moving instead of turning into back-and-forth over documentation.
A Quick Checklist for Homeowners and Builders
- Confirm rough openings are checked for square and level before windows are set, not after
- Ask what sill pan flashing method will be used and how it integrates with the house wrap
- Verify hardware and fasteners are rated for coastal/salt-air exposure
- Get clear on what the manufacturer warranty covers versus what installation warranty covers
- Ask how head flashing and drip caps will be detailed on exposed elevations
- Make sure sealant sequencing (interior vs. exterior, and when) is part of the written scope of work
What Happens If It's Done Wrong
The most common failure we see traced back to new-construction window work isn't a bad window — it's a missing or incorrectly lapped flashing layer. Water finds its way behind the weather-resistive barrier, tracks down the wall cavity, and rots sill framing or sheathing long before anyone notices a leak. By the time there's a visible stain or soft spot, the repair usually involves opening up the wall, not just recaulking the window. Getting the sequence right during the original build is the only way to avoid that repair bill down the road, and it costs nothing extra to do it correctly the first time — it just takes a crew that knows the sequence and won't skip steps to save an hour.
Get a Straightforward Estimate
Whether you're a homeowner working with a builder or a contractor looking for a window crew for a Barkley-area build, we're happy to walk the plans and give you a straightforward estimate — no pressure, no upsell. Fill out the form below and we'll get back to you with honest answers about what your project needs.